Article Type: How-To Guide
Applies To: Practitioners
You must have practitioner permissions.
The client or family you wish to invoice must already exist in the system.
From the main sidebar, click the Billing icon.
You will see the Pending Payments tab by default, listing all outstanding invoices and payments.
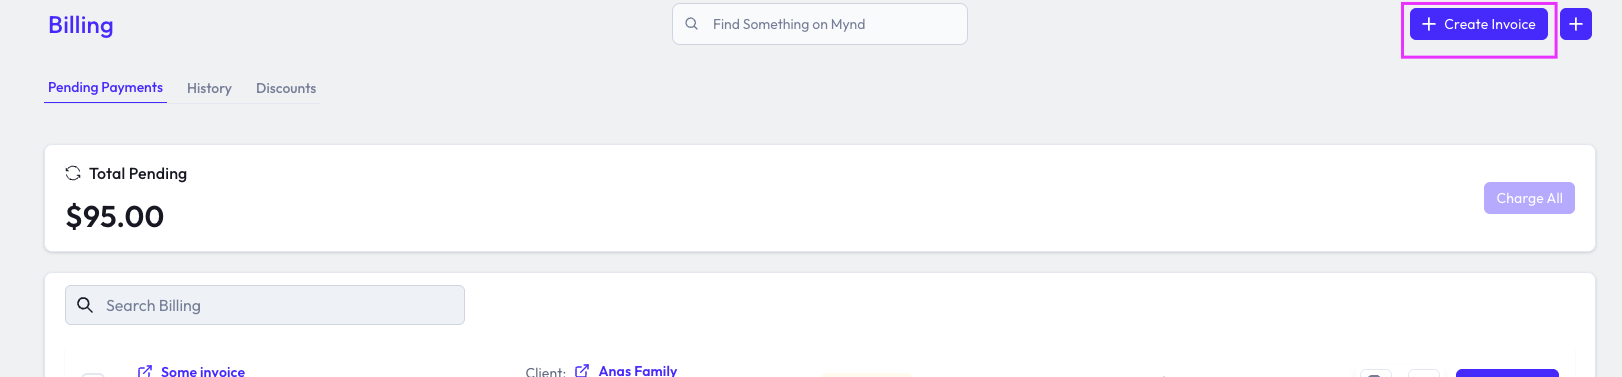
Click the Create Invoice button in the top right corner.
This will open the invoice creation form.
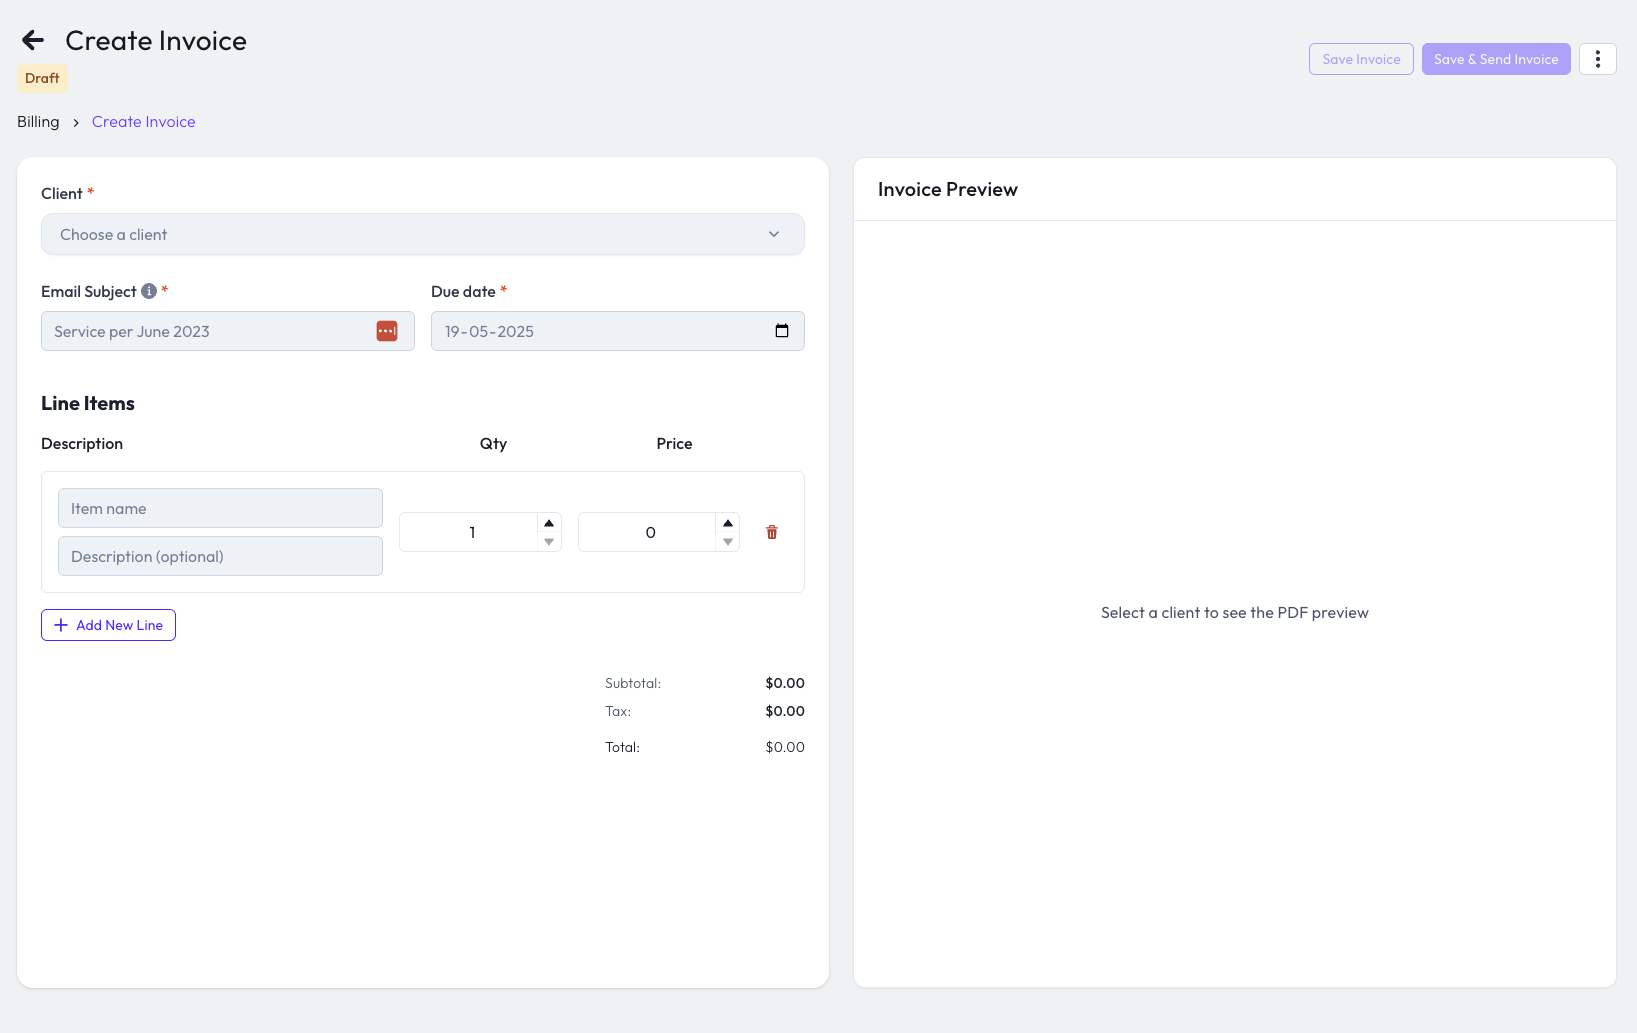
In the Client dropdown, search for and select the client or family you want to invoice.
The invoice preview on the right will update to show the selected client's details.
Email Subject: Enter a subject for the invoice email (e.g., "Invoice for workshop").
Due Date: Select the due date for payment using the calendar picker.
Under Line Items, enter the details for each service or product:
Description: Enter the item name (e.g., "Workshop").
Details (optional): Add a description if needed (e.g., "Workshop on mental health in workplace").
Quantity: Set the number of units.
Price: Enter the price per unit.
To add more items, click Add New Line.
On the right, you'll see a live PDF preview of the invoice as it will appear to the client.
Check that all details, totals, and client information are correct.
Click Save Invoice to save as a draft (without sending).
Click Save & Send Invoice to email the invoice directly to the client.
You can always return to the Billing section to view, edit, or resend invoices.
If you need help with invoicing, contact your practice administrator or email support@mynd.com.
